With Practice by Numbers, you can send mass messages to all patients or a specific group based on certain criteria. Here’s how you can do it:
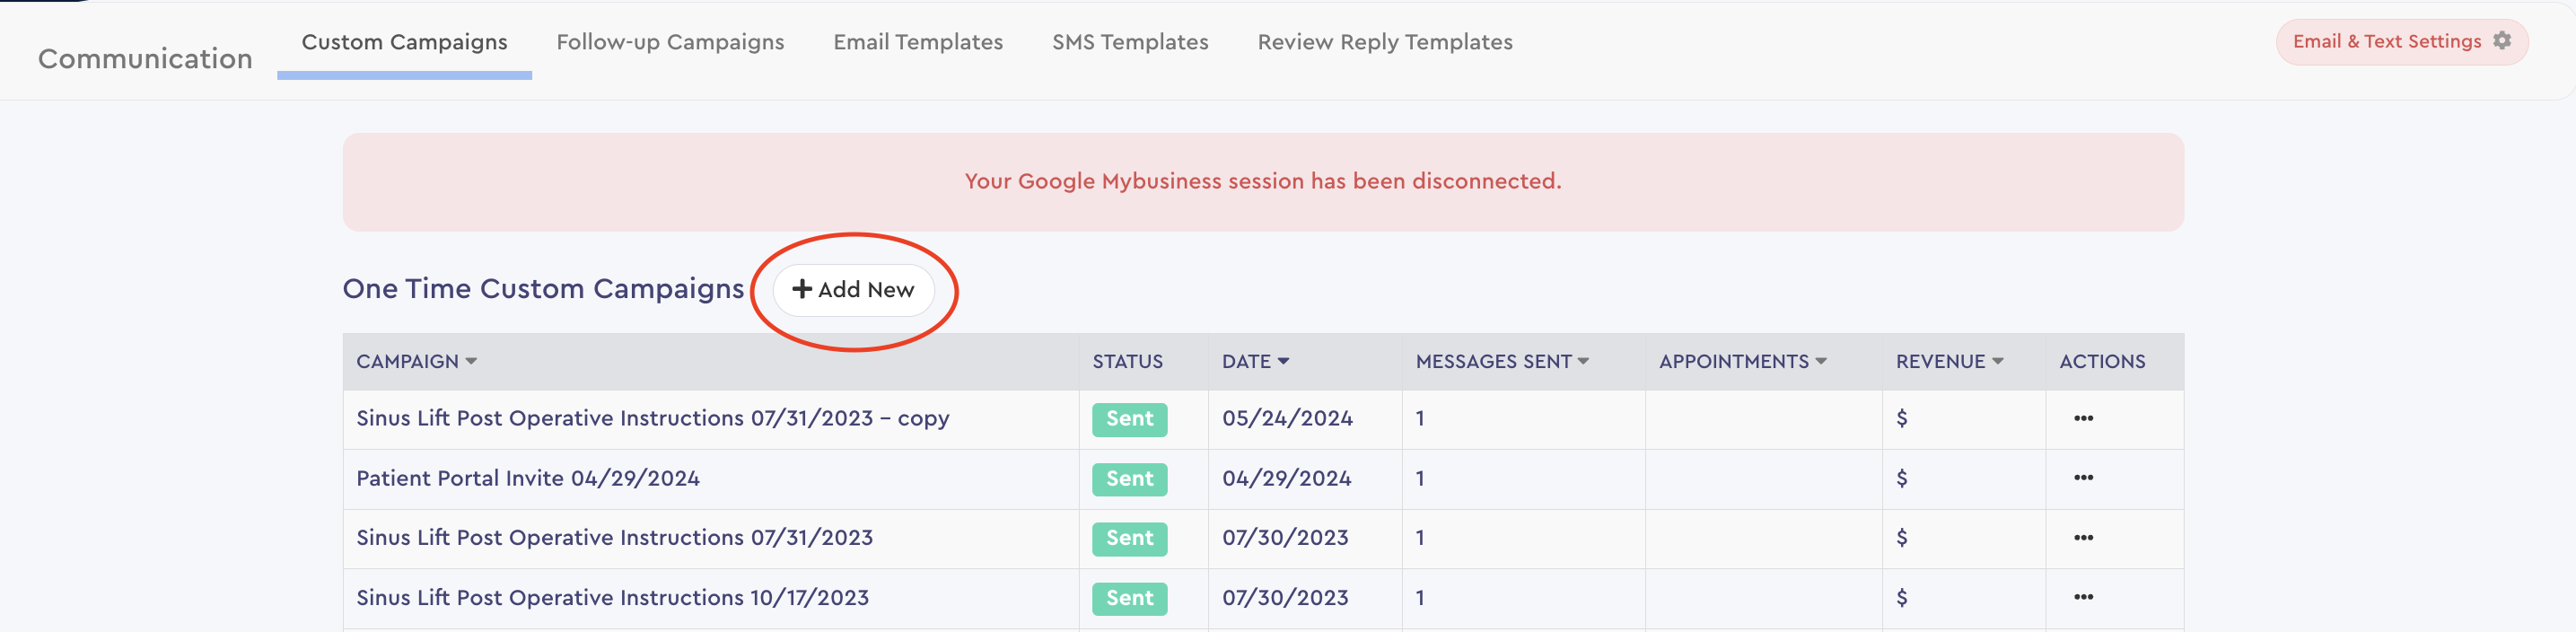
1. Access Custom Campaigns:
- Go to Campaigns and then Custom Campaigns. This option is available from the drop-down menu at the top right of the page or the sidebar on the RevenueIQ page.

2. Start a New Campaign:
- You’ll see results from previous campaigns. To create a new one, click + Add New at the top.
3. Set Up Your Campaign:
- Enter a Name and Category for your campaign. These fields are for your reference only and won’t be visible to patients. If you leave them blank, the system will automatically generate a name based on the template you select later.
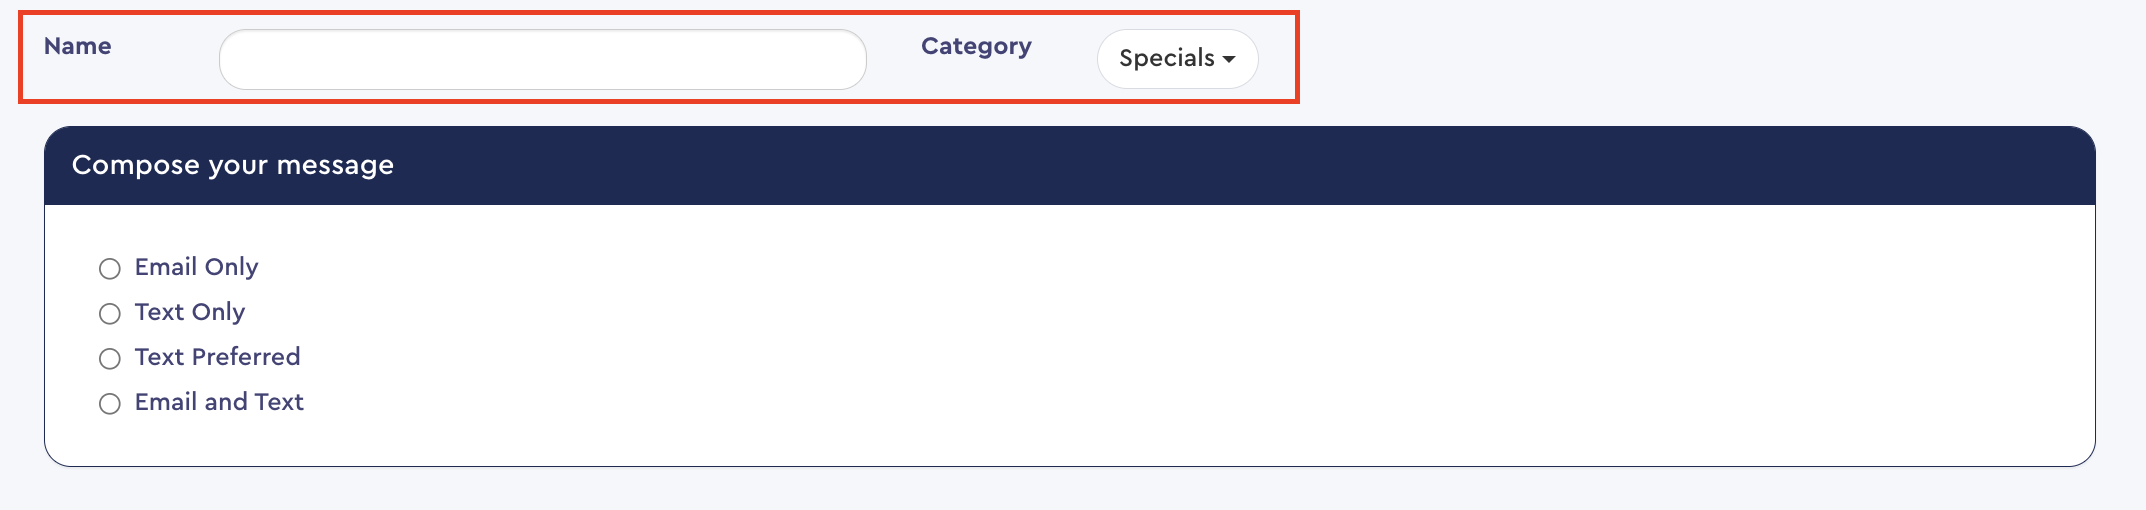
4. Choose Your Message Type:
- Decide what type of message you want to send:
- Email Only
- Text Only
- Text Preferred (sends a text as the primary message and an email only if the patient doesn’t have a cell phone)
- Email and Text
Note: Mass text messages are limited to 500 patients per campaign due to messaging regulations. If your list exceeds this number, the campaign will need to be email-only.

5. Select a Template:
- After choosing the message type, select a template. You can pick an existing template or create a new one from scratch.
- Click Add to open the template customization window. For this guide, we’ll use an existing template.
- Click Pick a Template, then select from your existing templates. For example, you could choose a template for a follow-up to a canceled appointment.
- Click Use to proceed. You can edit the template further if you need to.


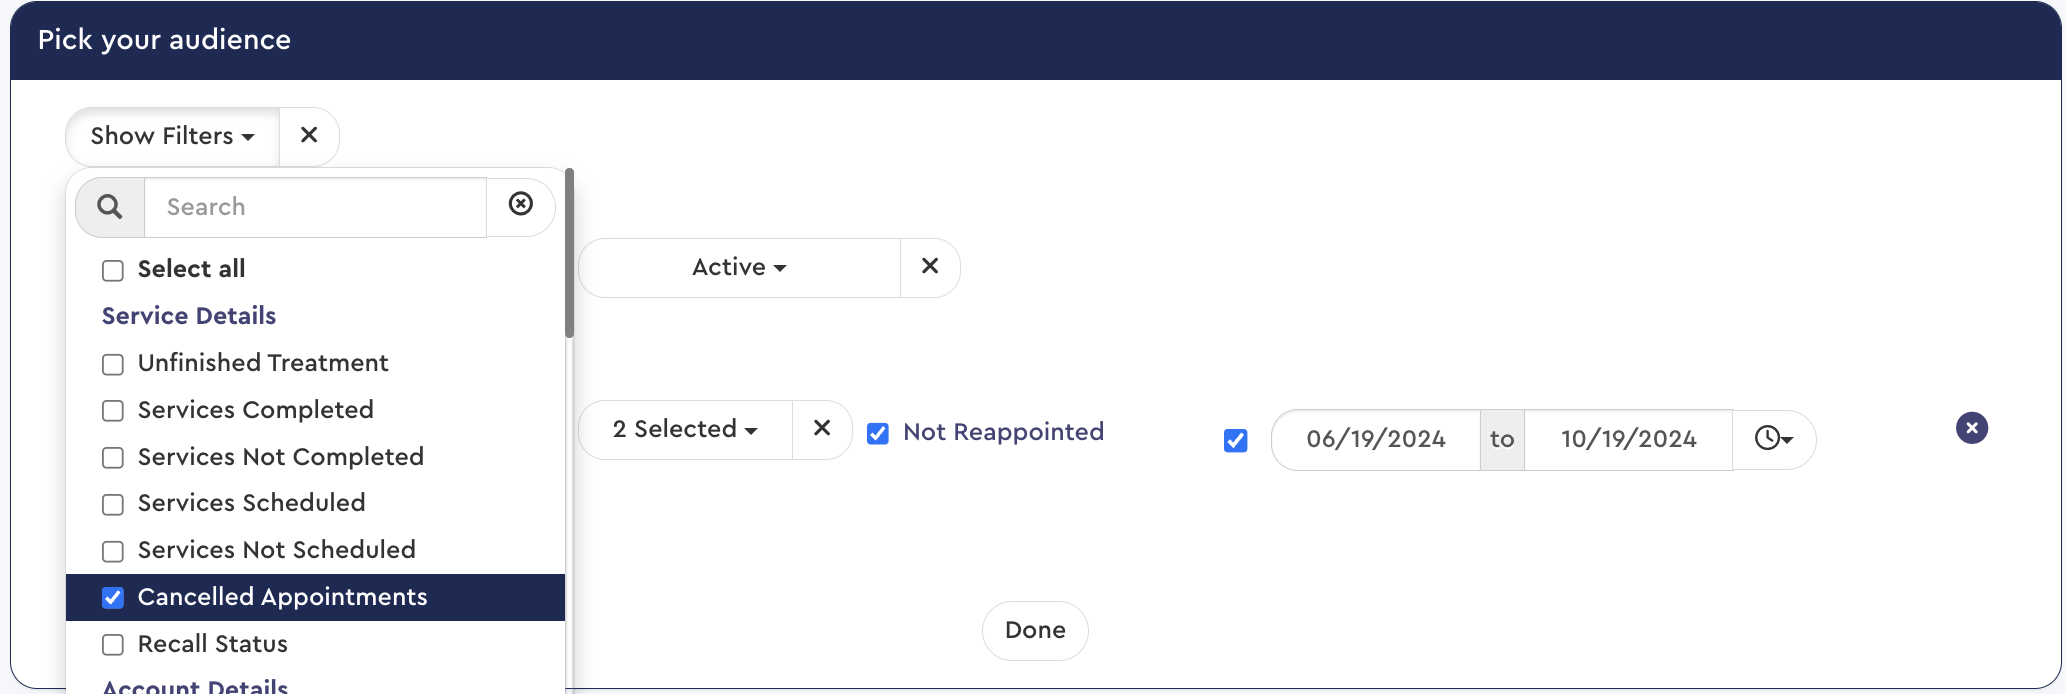
6. Choose Your Recipients:
- Under Pick Your Audience, click the Show Filters drop-down to view filtering criteria.
- For this example, select the Cancelled Appointments filter.
- You can customize the filter by specifying details like appointment status, reappointment status, and the date range of canceled appointments.
- The number of recipients will be displayed. You can adjust your list as needed.

7. Finalize and Send:
- Review your selections and make any final adjustments.
- Once you’re ready, send out your campaign.


Was this article helpful?
That’s Great!
Thank you for your feedback
Sorry! We couldn't be helpful
Thank you for your feedback
Feedback sent
We appreciate your effort and will try to fix the article